
Creative Wedding Photography with Double Exposure
You've probably seen them in my gallery and wondered what you were looking at. A portrait where a forest lives inside someone's silhouette. A couple's faces layered over an open Idaho sky. Two moments folded into one image, each one making the other more meaningful.
Those are double exposures. They're one of my favorite things to create, and I make at least one at every wedding and session I photograph.
This post is for two kinds of readers. If you're a couple curious about what you're seeing in my work and whether you'd get images like this, this is for you. If you're a photographer who wants to understand how to create double exposures in-camera and in Photoshop, keep reading. The technical breakdown is all here.

Photo by Katy Kahla Photography
What Is Double Exposure Photography?
Double exposure is a technique where two separate images are blended into a single frame. The result is a layered, dreamlike image where both exposures are visible at once, each one informing how the other reads.
The technique originated in film photography, where photographers would expose the same piece of film twice to create composite images. Today it can be done in-camera using your camera's multiple exposure setting, or in post-processing using software like Photoshop. The look is similar but the feel is different, and I'll explain why that matters later in this post.
The defining quality of a strong double exposure isn't just the layering. It's the sense that the two images were always meant to exist together.

Why I Create Double Exposures at Every Wedding and Session
My introduction to double exposure came in a high school photography class, the first time I encountered the work of Jerry Uelsmann. Uelsmann was a master of surrealist darkroom photography who spent decades combining multiple film negatives by hand to create composite images that were haunting, playful, and emotionally layered all at once.
I was struck by how much feeling a single image could hold when it contained more than one reality. The emotion didn't come from what was literally in the frame. It came from the tension between the two images and what that tension suggested.
I've carried that with me into my professional work. When I photograph a wedding, I'm always looking for moments where a double exposure could add a second layer of meaning. The image of someone's face overlaid with the landscape they love. A quiet portrait woven through with the texture of something that matters to them. An image that brings you back not just to what happened, but to how it felt.
This connects directly to how I think about wedding photography overall. I want to create two kinds of images: the ones that need no explanation, where you are fully in the moment, and the ones that hold a little magic, the ones that make you go woah. Double exposures are firmly in that second category.

Photo by Katy Kahla Photography
What I'm Looking For Before I Create a Double Exposure
Before I ever touch the camera settings, I'm looking for the right conditions. Not every moment lends itself to a double exposure, and understanding what works is half of what makes the technique successful.
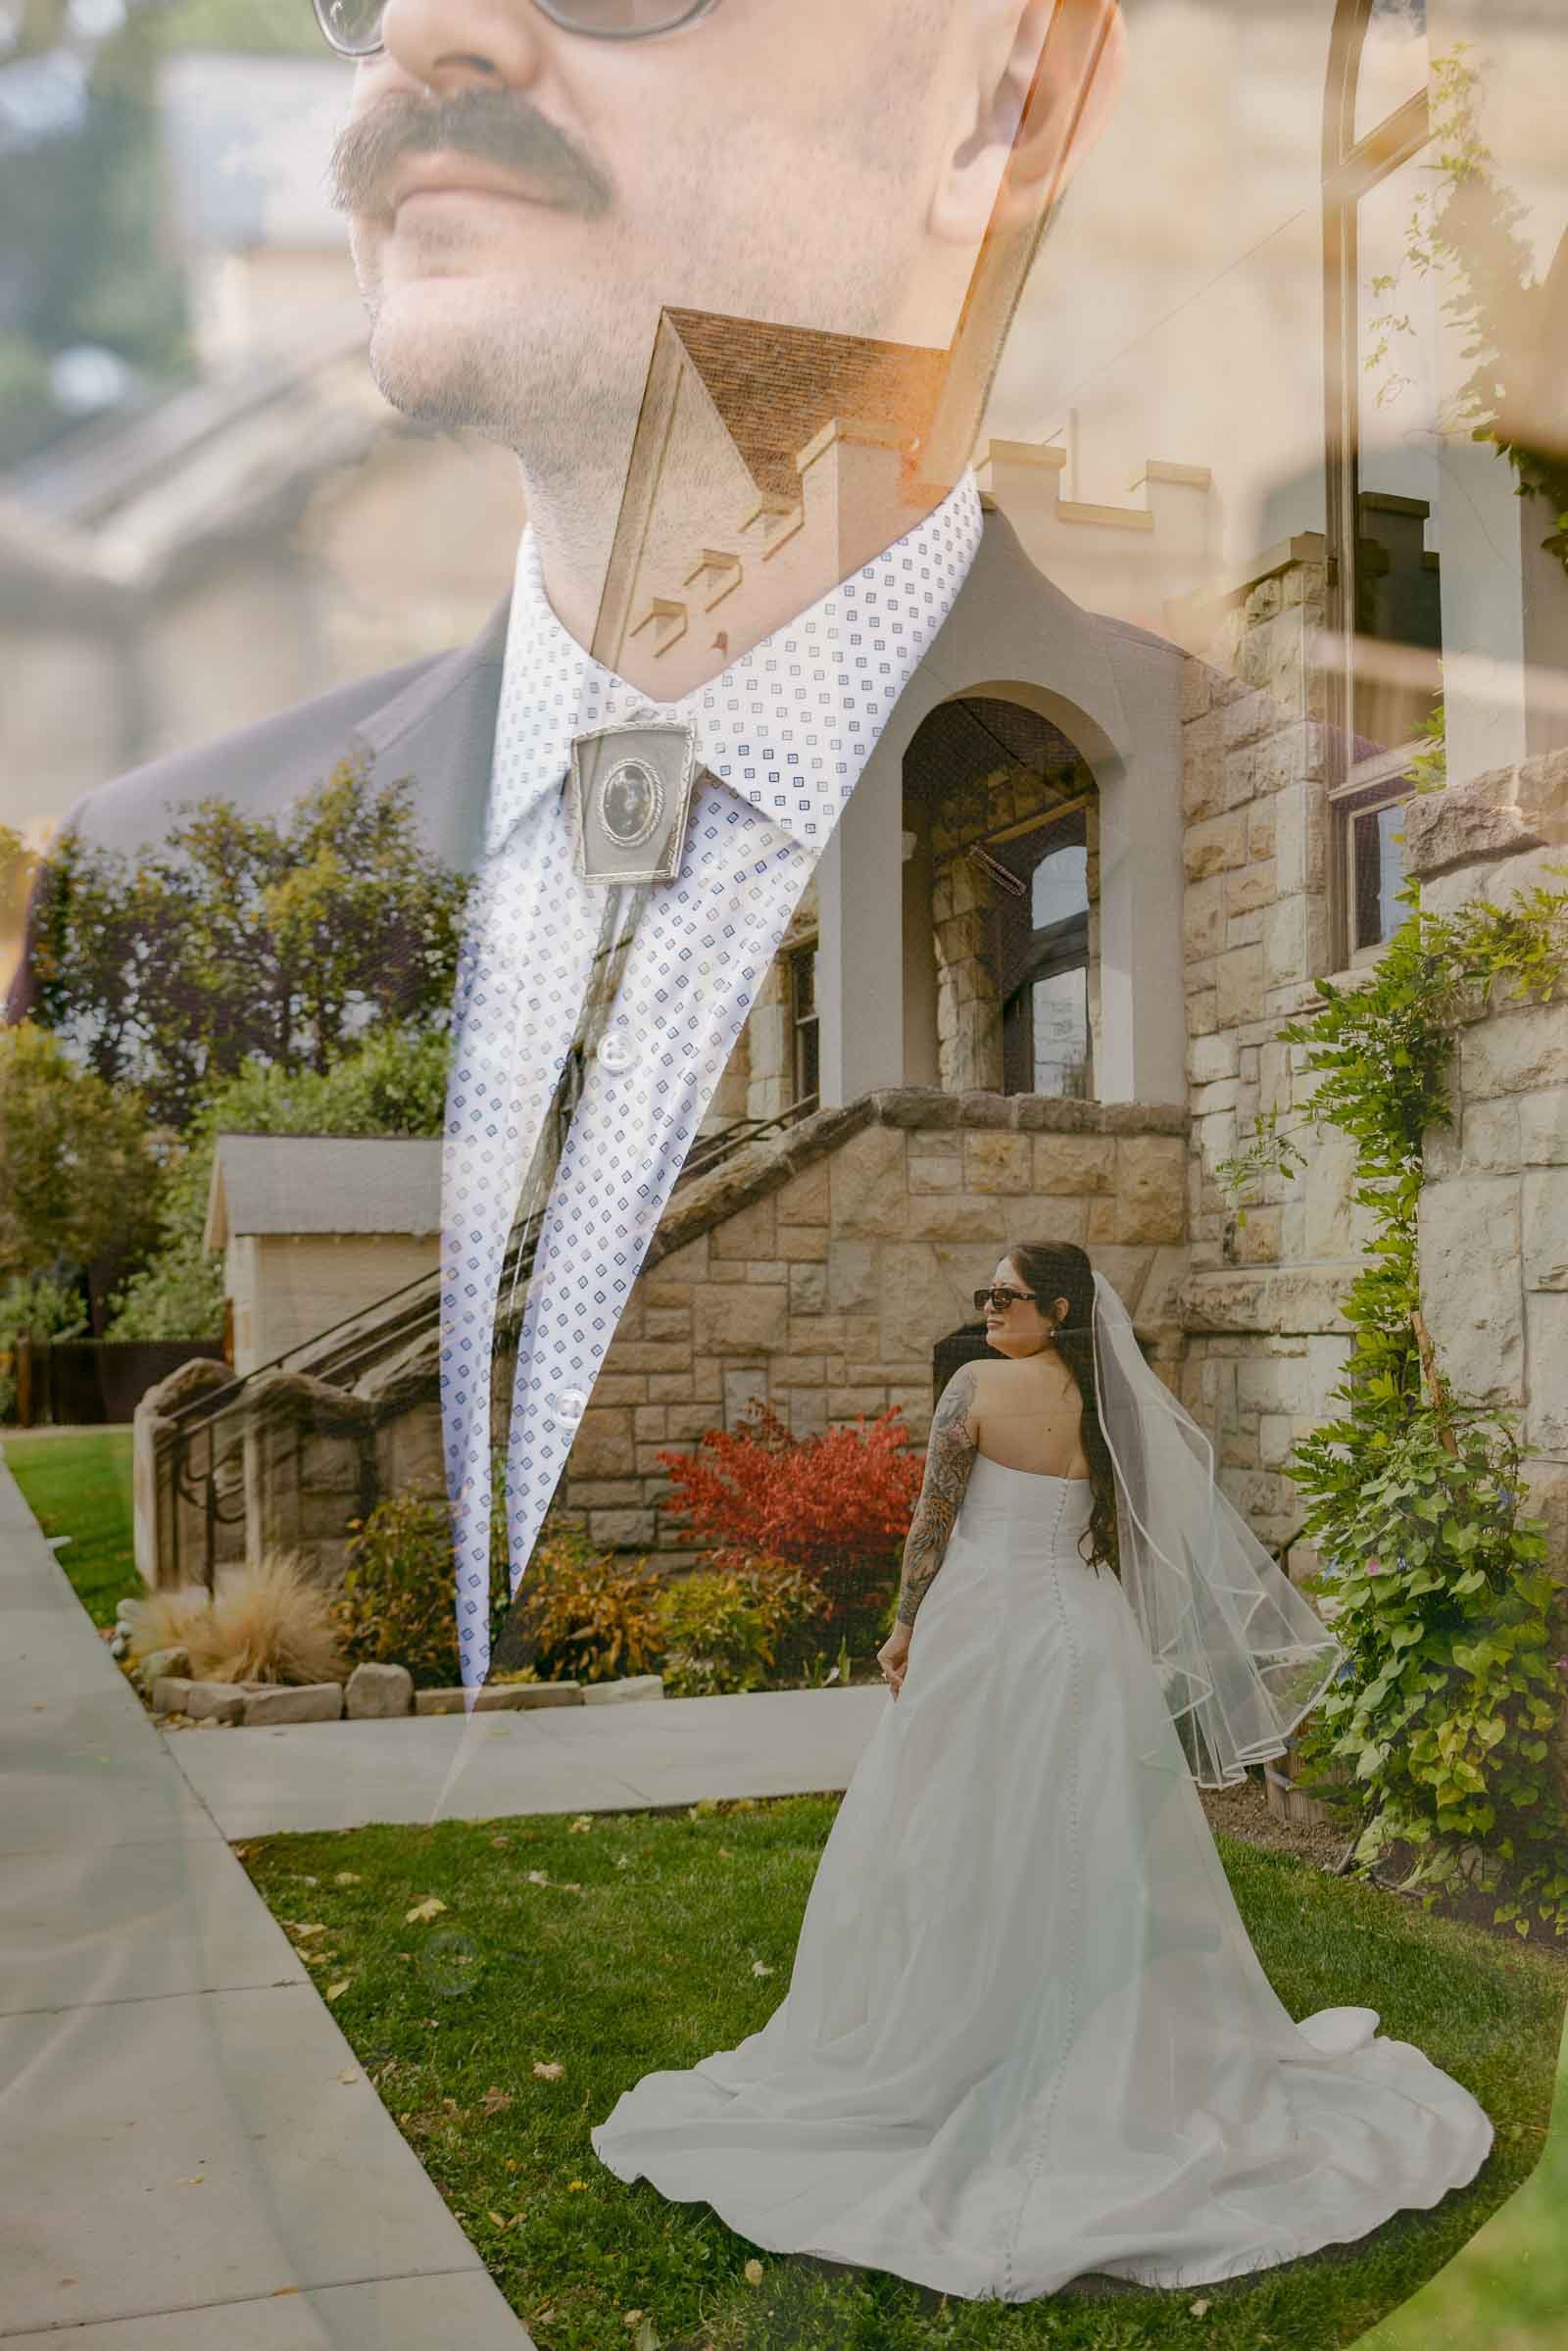
For the base image, I want a strong subject with clear contrast. A portrait where the face or silhouette has definition against a lighter background works especially well. The lighter areas of the base image are where the second exposure will show through most prominently, so negative space matters.
For the second image, I'm looking for something that adds meaning rather than just texture. Idaho gives me a lot to work with here. Open skies, ridgelines, forest canopies, the Snake River Canyon at golden hour, wildflower meadows in the Sawtooth foothills. These landscapes layer naturally into portraits because they feel like they belong to the people being photographed.
I'm also looking for light. Double exposures need contrast to read clearly. Flat or overcast light can muddy the blend. Strong directional light, especially late in the day, gives the two frames the separation they need to coexist without competing.

How to Create Double Exposures In-Camera on a Canon
Creating double exposures in-camera is my preferred approach whenever possible. There's an authenticity to it that I value. The image was made on the day it was captured, in real conditions, with real light. It isn't a composite built in post. That matters to me.
Here's how I do it using Canon's Multiple Exposure feature.
Access the Settings: Go to the menu and find the "Multiple Exposure" option. This is usually located in the shooting settings.
Choose Your Mode: Canon offers four different modes for multiple exposure:
Average: The camera averages the exposures to create the final image.
Additive: The camera adds the exposures together, which can result in a brighter image.
Light: Only the lighter parts of each exposure are combined.
Dark: Only the darker parts of each exposure are combined.
Select Number of Exposures: Choose the number of exposures you want to combine. For double exposure, select two.
Capture Your Images: Start with your base image, which should be a strong subject like a portrait. Then, capture your second image, which can be a texture or landscape that complements the first.
(Optional) Select an Image: Sometimes you capture an image earlier in the session that will blend perfectly with the moment. You can always use an earlier image as the first image in the exposure.
Review and Adjust: After capturing both images, review the result on your camera’s screen. If necessary, make adjustments and try again until you achieve the desired effect.


Examples of Canon Multiple Exposure Modes
Average
The Average setting provides an automatic exposure control whereby each image is automatically underexposed so that the final image is then correctly exposed. Unlike with the Additive setting, all of the images in the multiple exposure will be averaged and taken at the same exposure level setting.


Additive
The Additive exposure control works similarly to shooting multiple exposures with film cameras. Instead of taking each shot with the correct exposure, the total exposure is added up from each individual image. To achieve the correct result, you should underexpose each image so that the resulting image is correctly exposed once they are all combined together.


Light
The Light setting is suitable for photographing uniformly dark scenes with bright objects superimposed on top. A classic example of such a scene would be a moon superimposed on a dark night sky, or a dancer in white against a black background – this can only be done by overlaying the bright objects within the scene.


Dark
The Dark setting is used to eliminate the bright areas of images and so overlay only the dark areas of each image. This setting is useful for shooting a subject moving across the sky during daylight hours, for example, or eliminating reflections and bright patches in an image – like the reflections you may see when photographing a portrait of someone wearing glasses.


How to Create Double-Exposure Images in Photoshop
Photoshop gives you more precise control and is a good place to start if you're learning the technique and want to understand how the layers interact before you try it in-camera.
Select Your Images: Choose two images that you think will complement each other. Typically, one image should have a clear subject (like a portrait), and the other can be more abstract (like a landscape or texture). Ensure the images have already been edited and toned to match each other as it is much more difficult to do this once the images are blended.
Open Images in Photoshop: Load both images into Photoshop and place them in separate layers. Ensure the image you want as the base is the bottom layer.
Blend the Images: With the top layer selected, change the blending mode to "Screen" or "Overlay" in the Layers panel. These modes work well for double exposure effects but feel free to experiment with others.
Adjust Opacity: Tweak the opacity of the top layer to achieve the desired effect. Lower opacity will make the blend more subtle, while higher opacity will make it more pronounced.
Refine the Composition: Use layer masks and the brush tool to paint in or out certain areas of the top image. This allows for more control over which parts of the images blend.
Finalize the Image: Adjust the overall brightness, contrast, and colors to ensure the final image is cohesive and visually appealing.

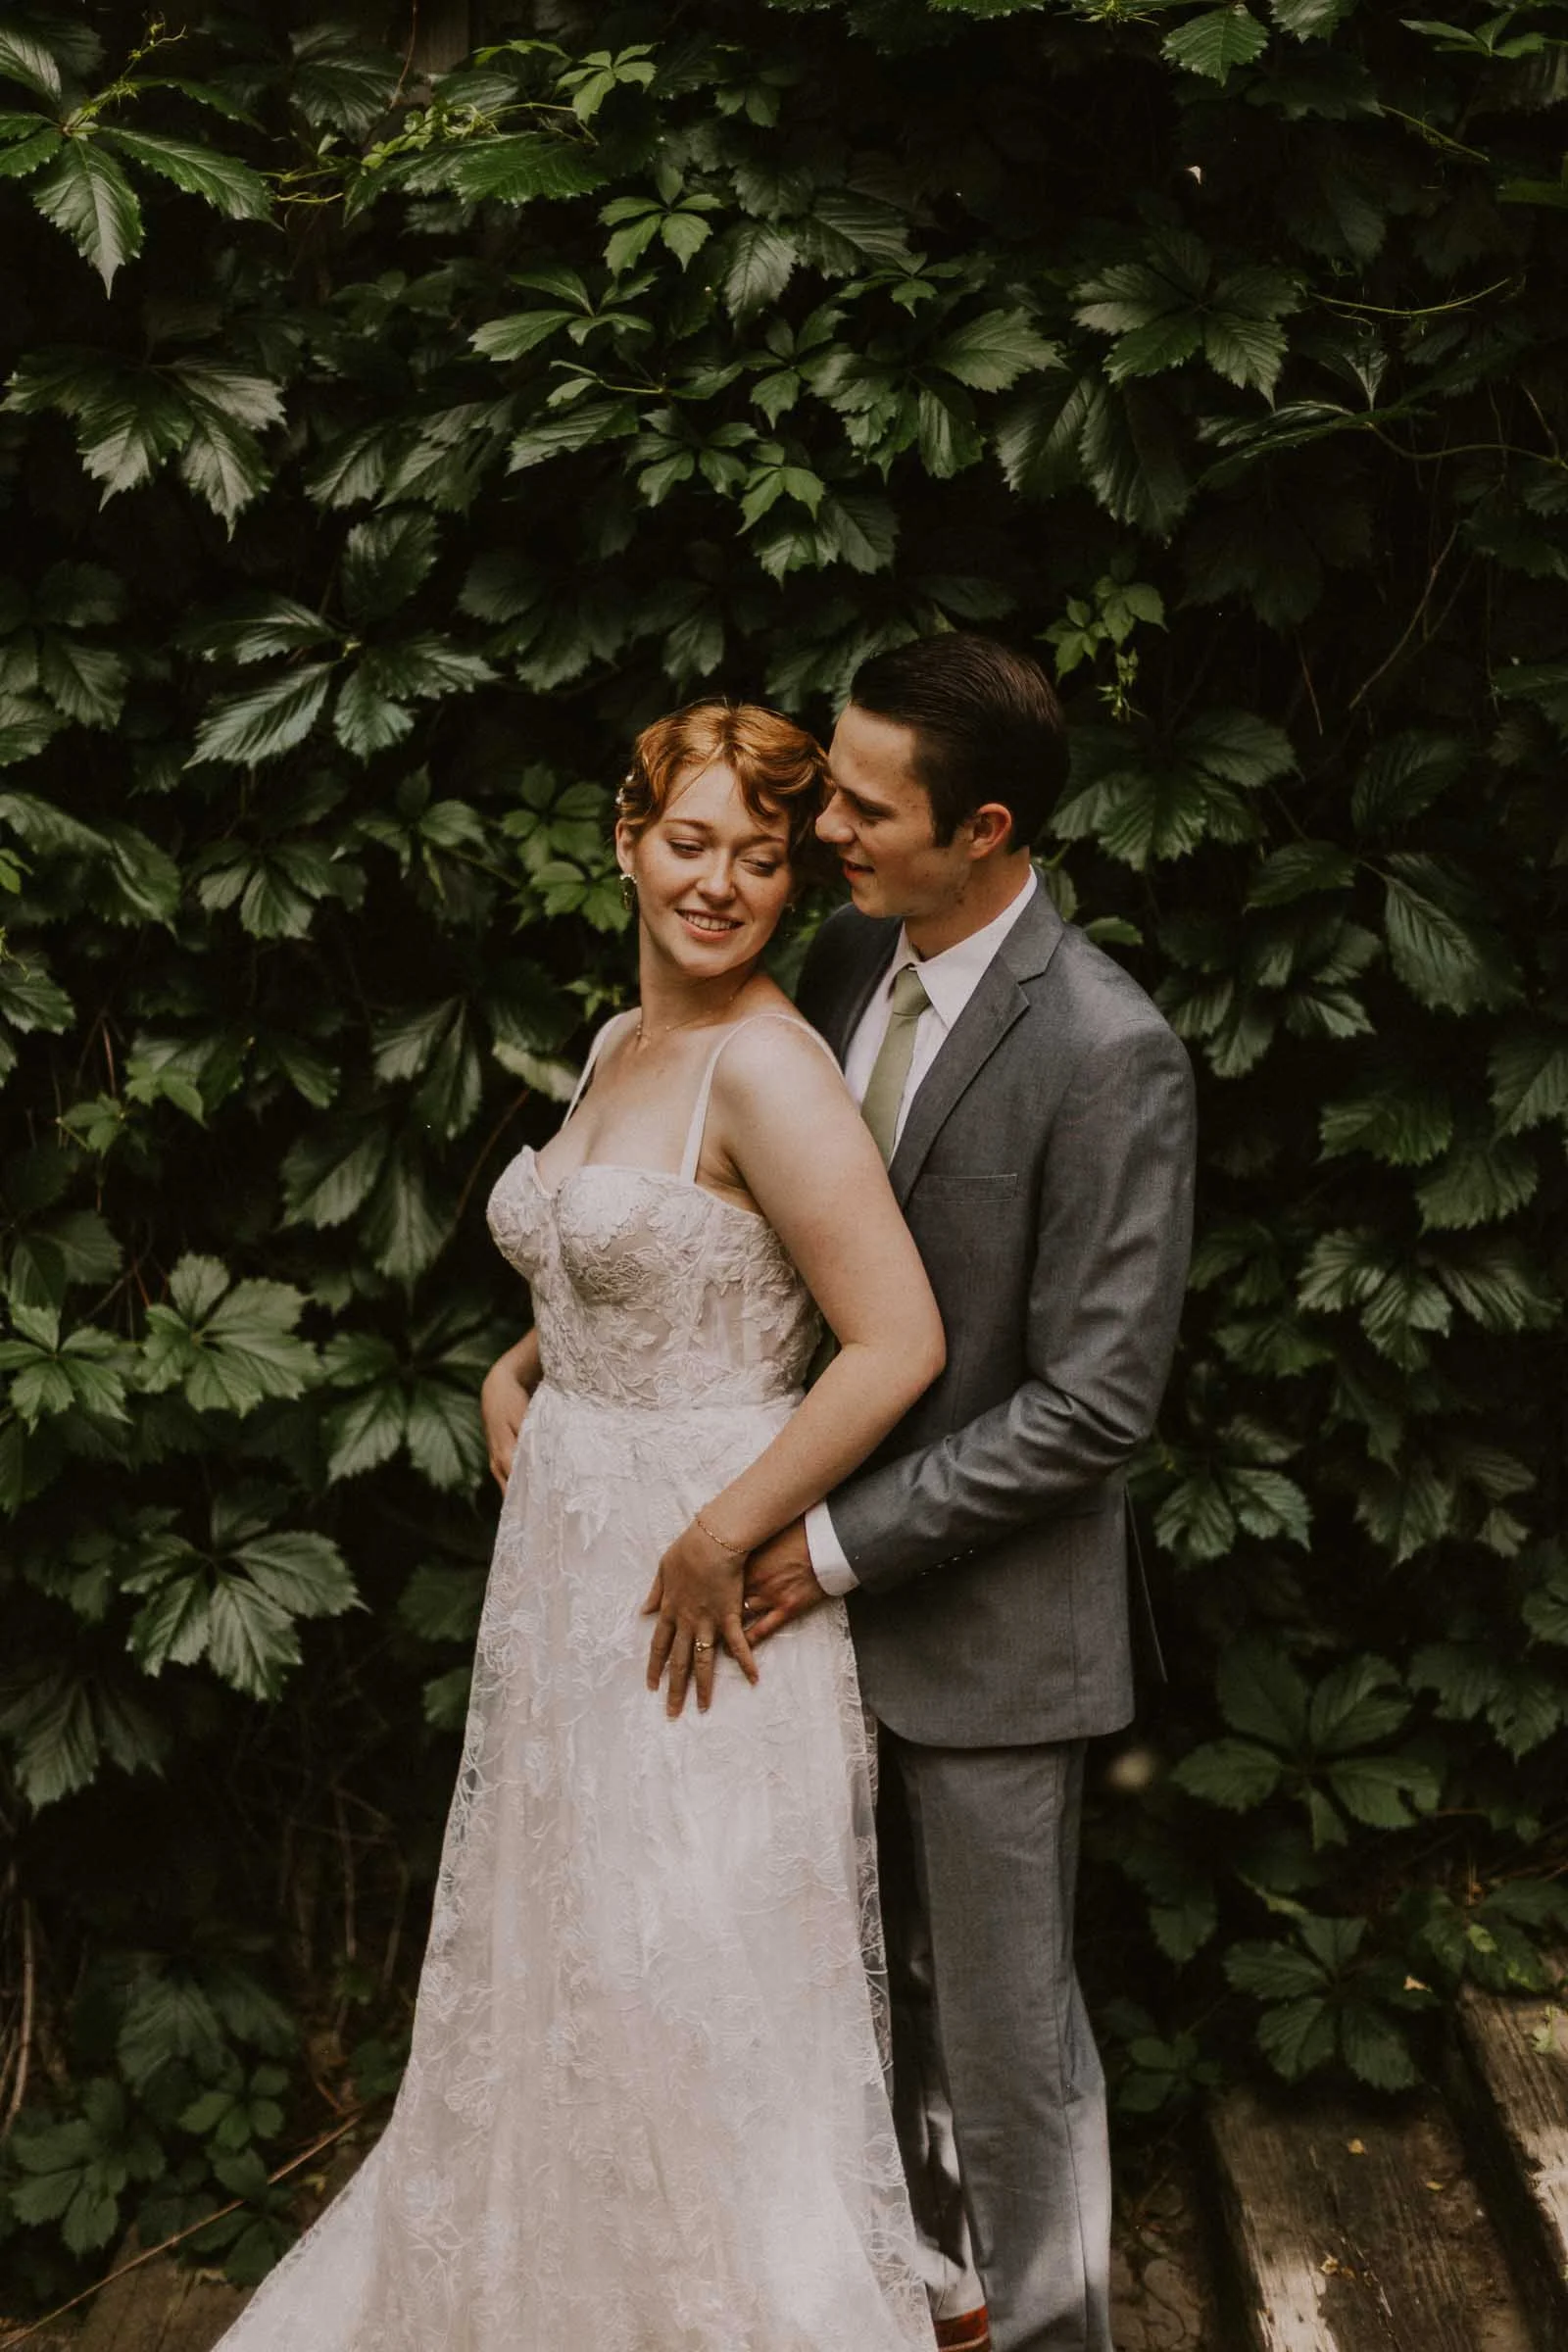
Photo by Katy Kahla Photography
A Few Things That Make Double Exposures Work
Whether you're shooting in-camera or building in Photoshop, a few principles hold across both approaches.
Simpler base images blend more successfully than busy ones. A portrait against a clean, light background gives the second layer room to breathe. A cluttered background fights with whatever you put on top of it.
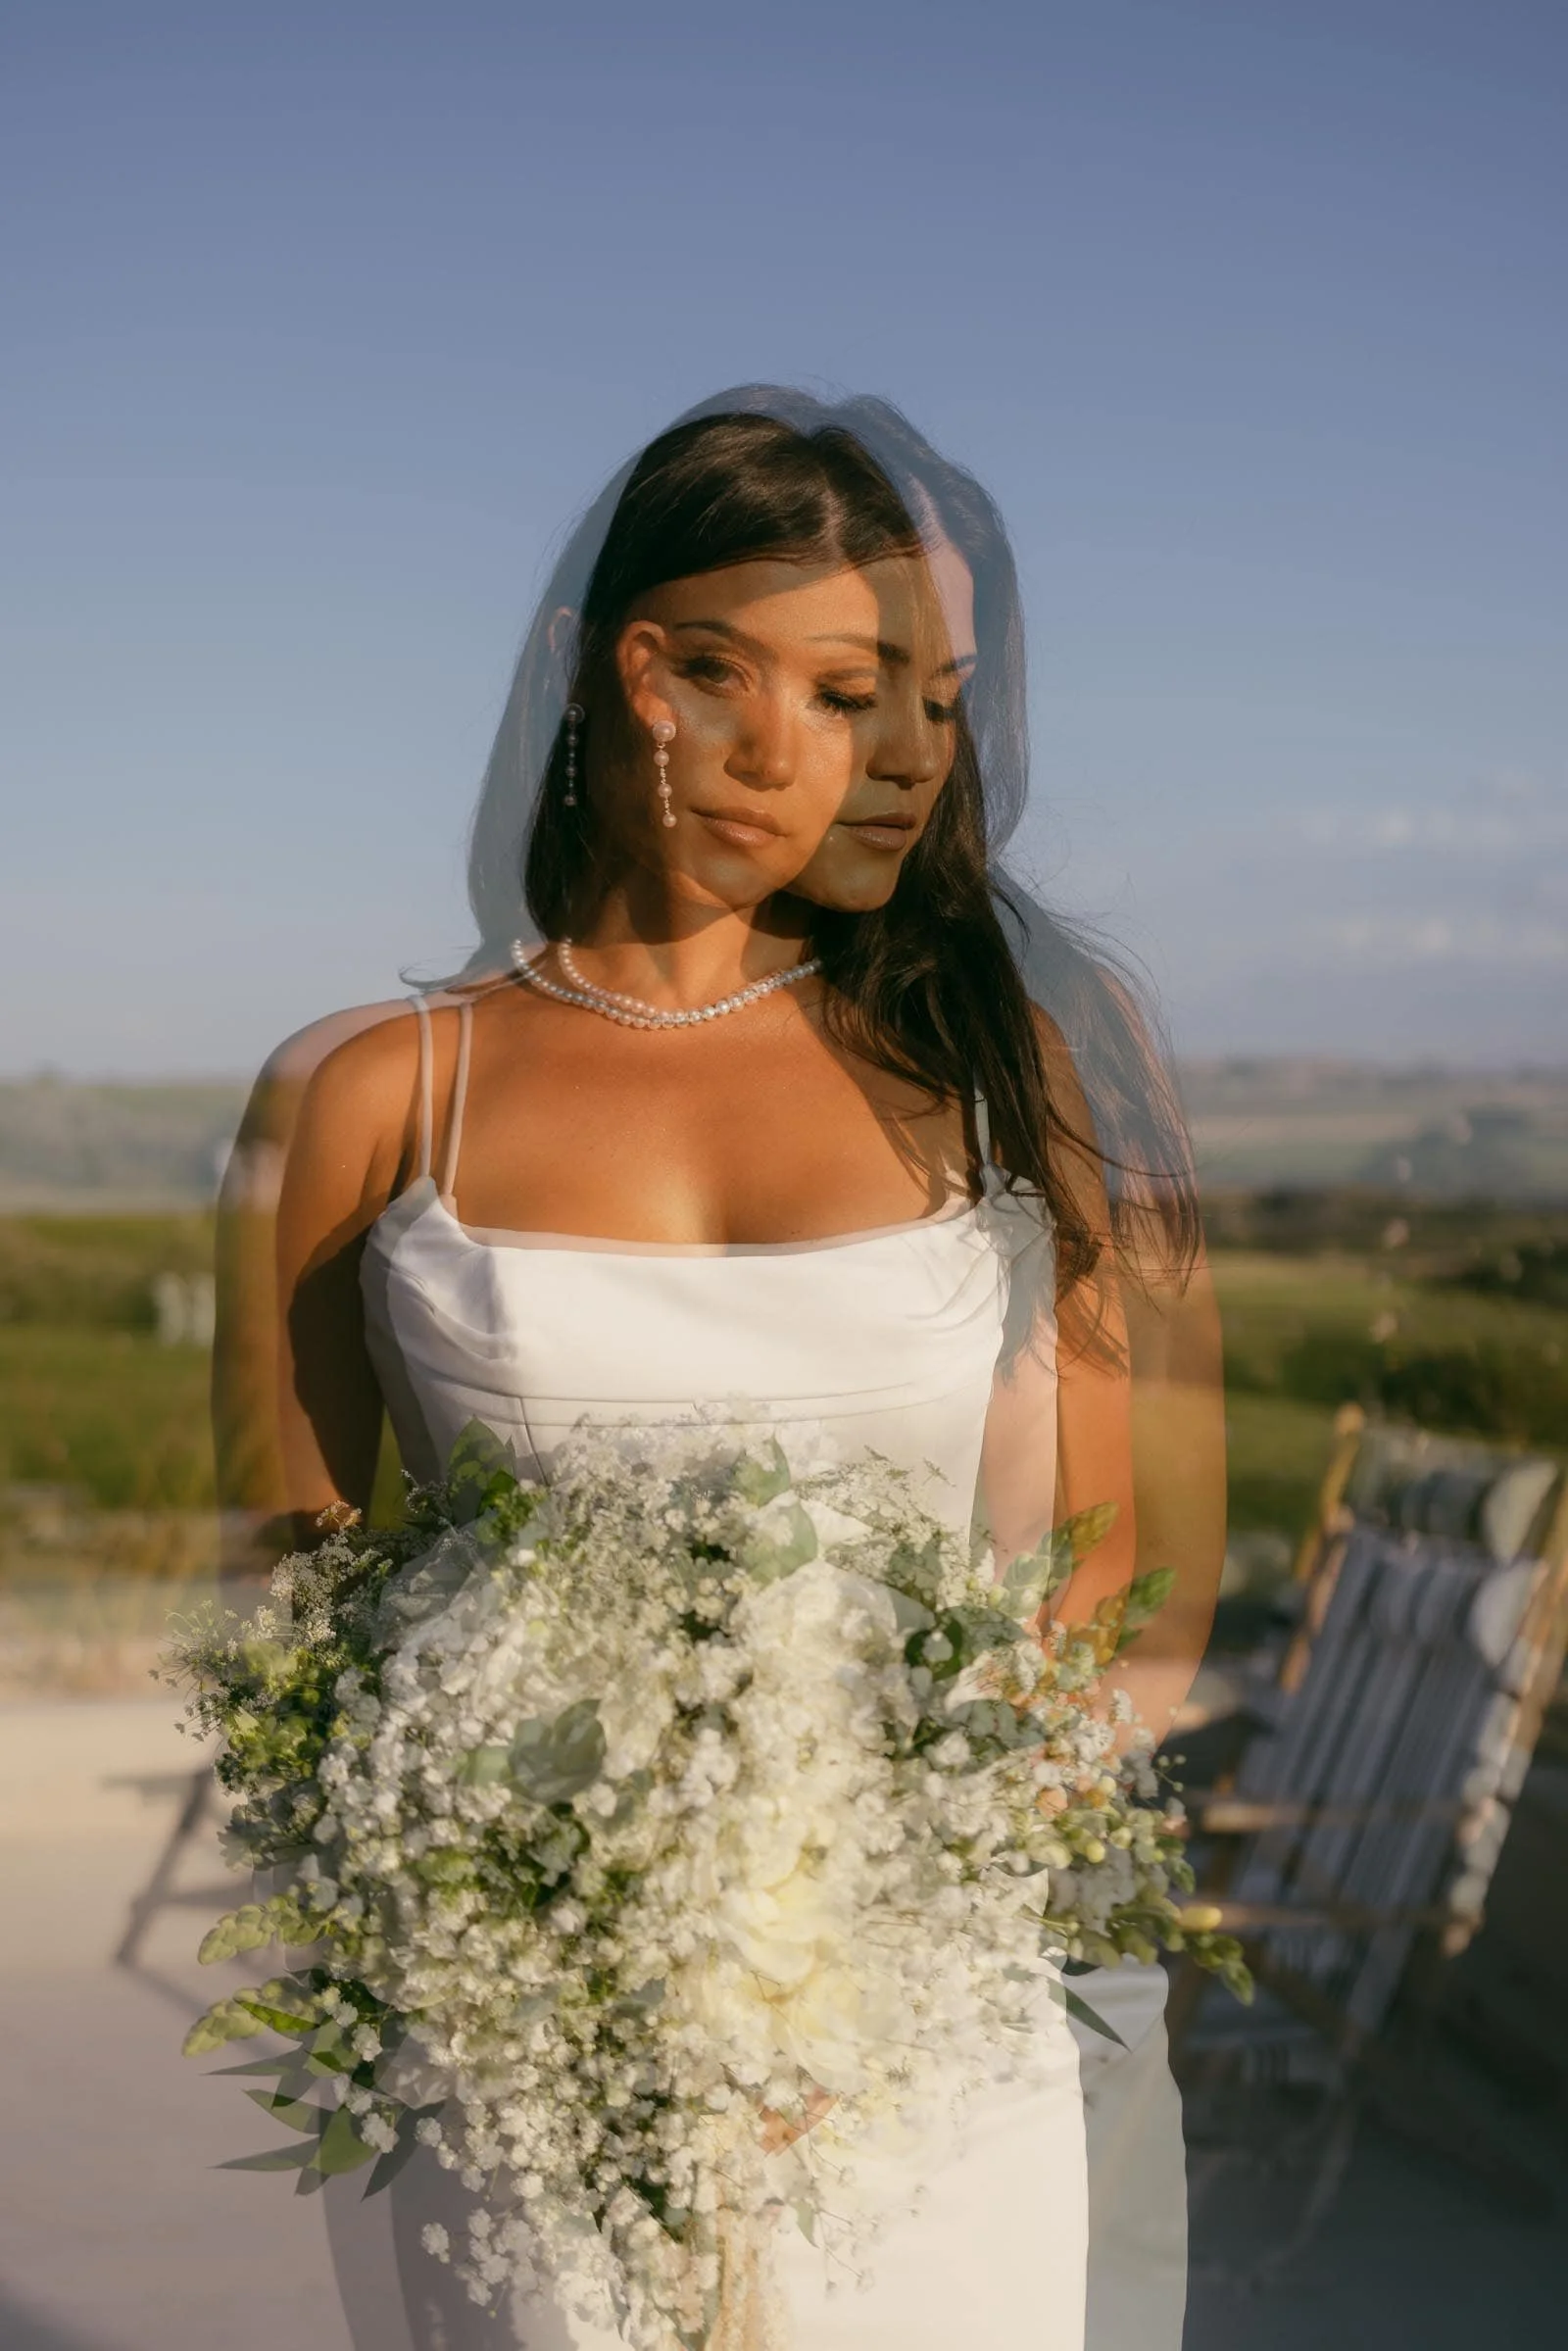
The relationship between the two images matters more than the technical execution. The best double exposures I've created have come from moments where the two frames had something to say to each other. A couple's portrait layered with the mountains they eloped in. A bride's silhouette woven through with the flowers she grew herself. The image works because the two layers mean something together.
Idaho's landscapes are some of the best raw material I've found for this technique. Wide skies, strong ridgelines, forest light, open water. These elements layer naturally into portraits because they're expansive enough to hold a second image without overwhelming the subject.

Photo by Katy Kahla Photography
Frequently Asked Questions About Double Exposure Photography
What is double exposure photography? Double exposure is a technique where two separate images are blended into a single frame, creating a layered, dreamlike result. It originated in film photography and can now be created in-camera or in post-processing software.
Is double exposure done in-camera or in editing? Both are possible. In-camera double exposure uses your camera's built-in multiple exposure feature to blend the frames at the moment of capture. Photoshop blending happens in post-processing and gives you more precise control. I prefer in-camera when conditions allow because it ties the image to the day it was made.
Can couples request a double exposure at their wedding? Yes. I create at least one at every wedding and session I photograph, and I'm always happy to be intentional about it. If there's a location, landscape, or detail you'd love to see layered into a portrait, tell me about it when we connect and we can plan for it.
What camera settings do you use for double exposure? I shoot Canon and use the Multiple Exposure feature in the shooting menu. My most-used blending modes are Average for portraits layered with landscapes and Light for high-contrast silhouette work. The full breakdown is in this post.
Why do some wedding photos look layered or blended? Those are almost certainly double exposures or a similar in-camera technique. The layered quality comes from two separate exposures being combined into a single image, either in-camera or in post-processing.
Double exposure is one of the ways I push past documentation and into something that feels more like art. Not every image needs to be one. But when the conditions are right and the two frames have something to say to each other, the result is exactly the kind of image that stops you mid-scroll.
If you're a couple who wants images that hold a little more, I'd love to hear about your wedding.
You might also enjoy these: